
How to Start a Container Garden: The Setup I Actually Use
When I first decided I wanted to grow my own herbs, I didn't have raised beds, a greenhouse, or even a dedicated gardening space.
What I did have was a basement. And honestly, it wasn't even a particularly nice basement.
I bought a plastic shelving unit, hung a grow light from the rafters, filled a few containers with soil, and planted some seeds. That was the entire plan.
At the time, I wasn't trying to grow a huge garden. I mostly wanted enough herbs for tea. A little chamomile. Some lavender. Maybe a rosemary plant or two. I drink a lot of herbal tea during the winter, and I thought it would be fun to grow some of my own ingredients.
A few months later I somehow ended up with more than 25 different herbs, vegetables, and fruit growing in the basement and it was starting to warm up outside, so I slowly started moving them outside as they got old enough.
That's the thing about gardening. It starts with one packet of seeds and suddenly you're researching raised beds, learning about companion planting, and trying to figure out where you're going to put another dozen plants.
If you're interested in starting a container garden, I want to show you the setup I actually use. Not the perfect setup. Not the most expensive setup. Just the one that's worked for me so far.
Why I Started With Containers
One of the biggest reasons I chose container gardening is because I'm a renter.
When I first started gardening, I knew there was a good chance I'd eventually move. Building permanent garden structures didn't make much sense when I wasn't sure how long I'd be living here but containers gave me flexibility.
If a plant wasn't getting enough sun, I could move it. If we got an unexpected cold snap, I could bring it inside. If I decided I wanted to rearrange the entire garden, I could do that too.
For beginner gardeners, I think containers remove a lot of the pressure. You're not committing to a large garden bed or spending hundreds of dollars on materials before you know whether you even enjoy gardening.
You can start with a few pots and expand as you learn. Which is exactly what I did.
Why I Start Seeds Indoors
One question I get asked fairly often is why I bother starting seeds indoors when I could just buy plants from a nursery.
The answer is simple: variety and cost.
A packet of seeds often costs about the same as a single nursery plant, but that packet might contain enough seeds to grow dozens of plants. It also gives you access to varieties that local garden centers may never carry.
Starting seeds indoors also gives me a longer growing season. Here in Virginia, many herbs benefit from a head start before they're moved outside. If I waited until spring to begin everything outdoors, I would lose several months of growing time.
Of course, the downside is that you need somewhere to put all those seedlings. That's where the basement comes in.
My Basement Seed Starting Setup
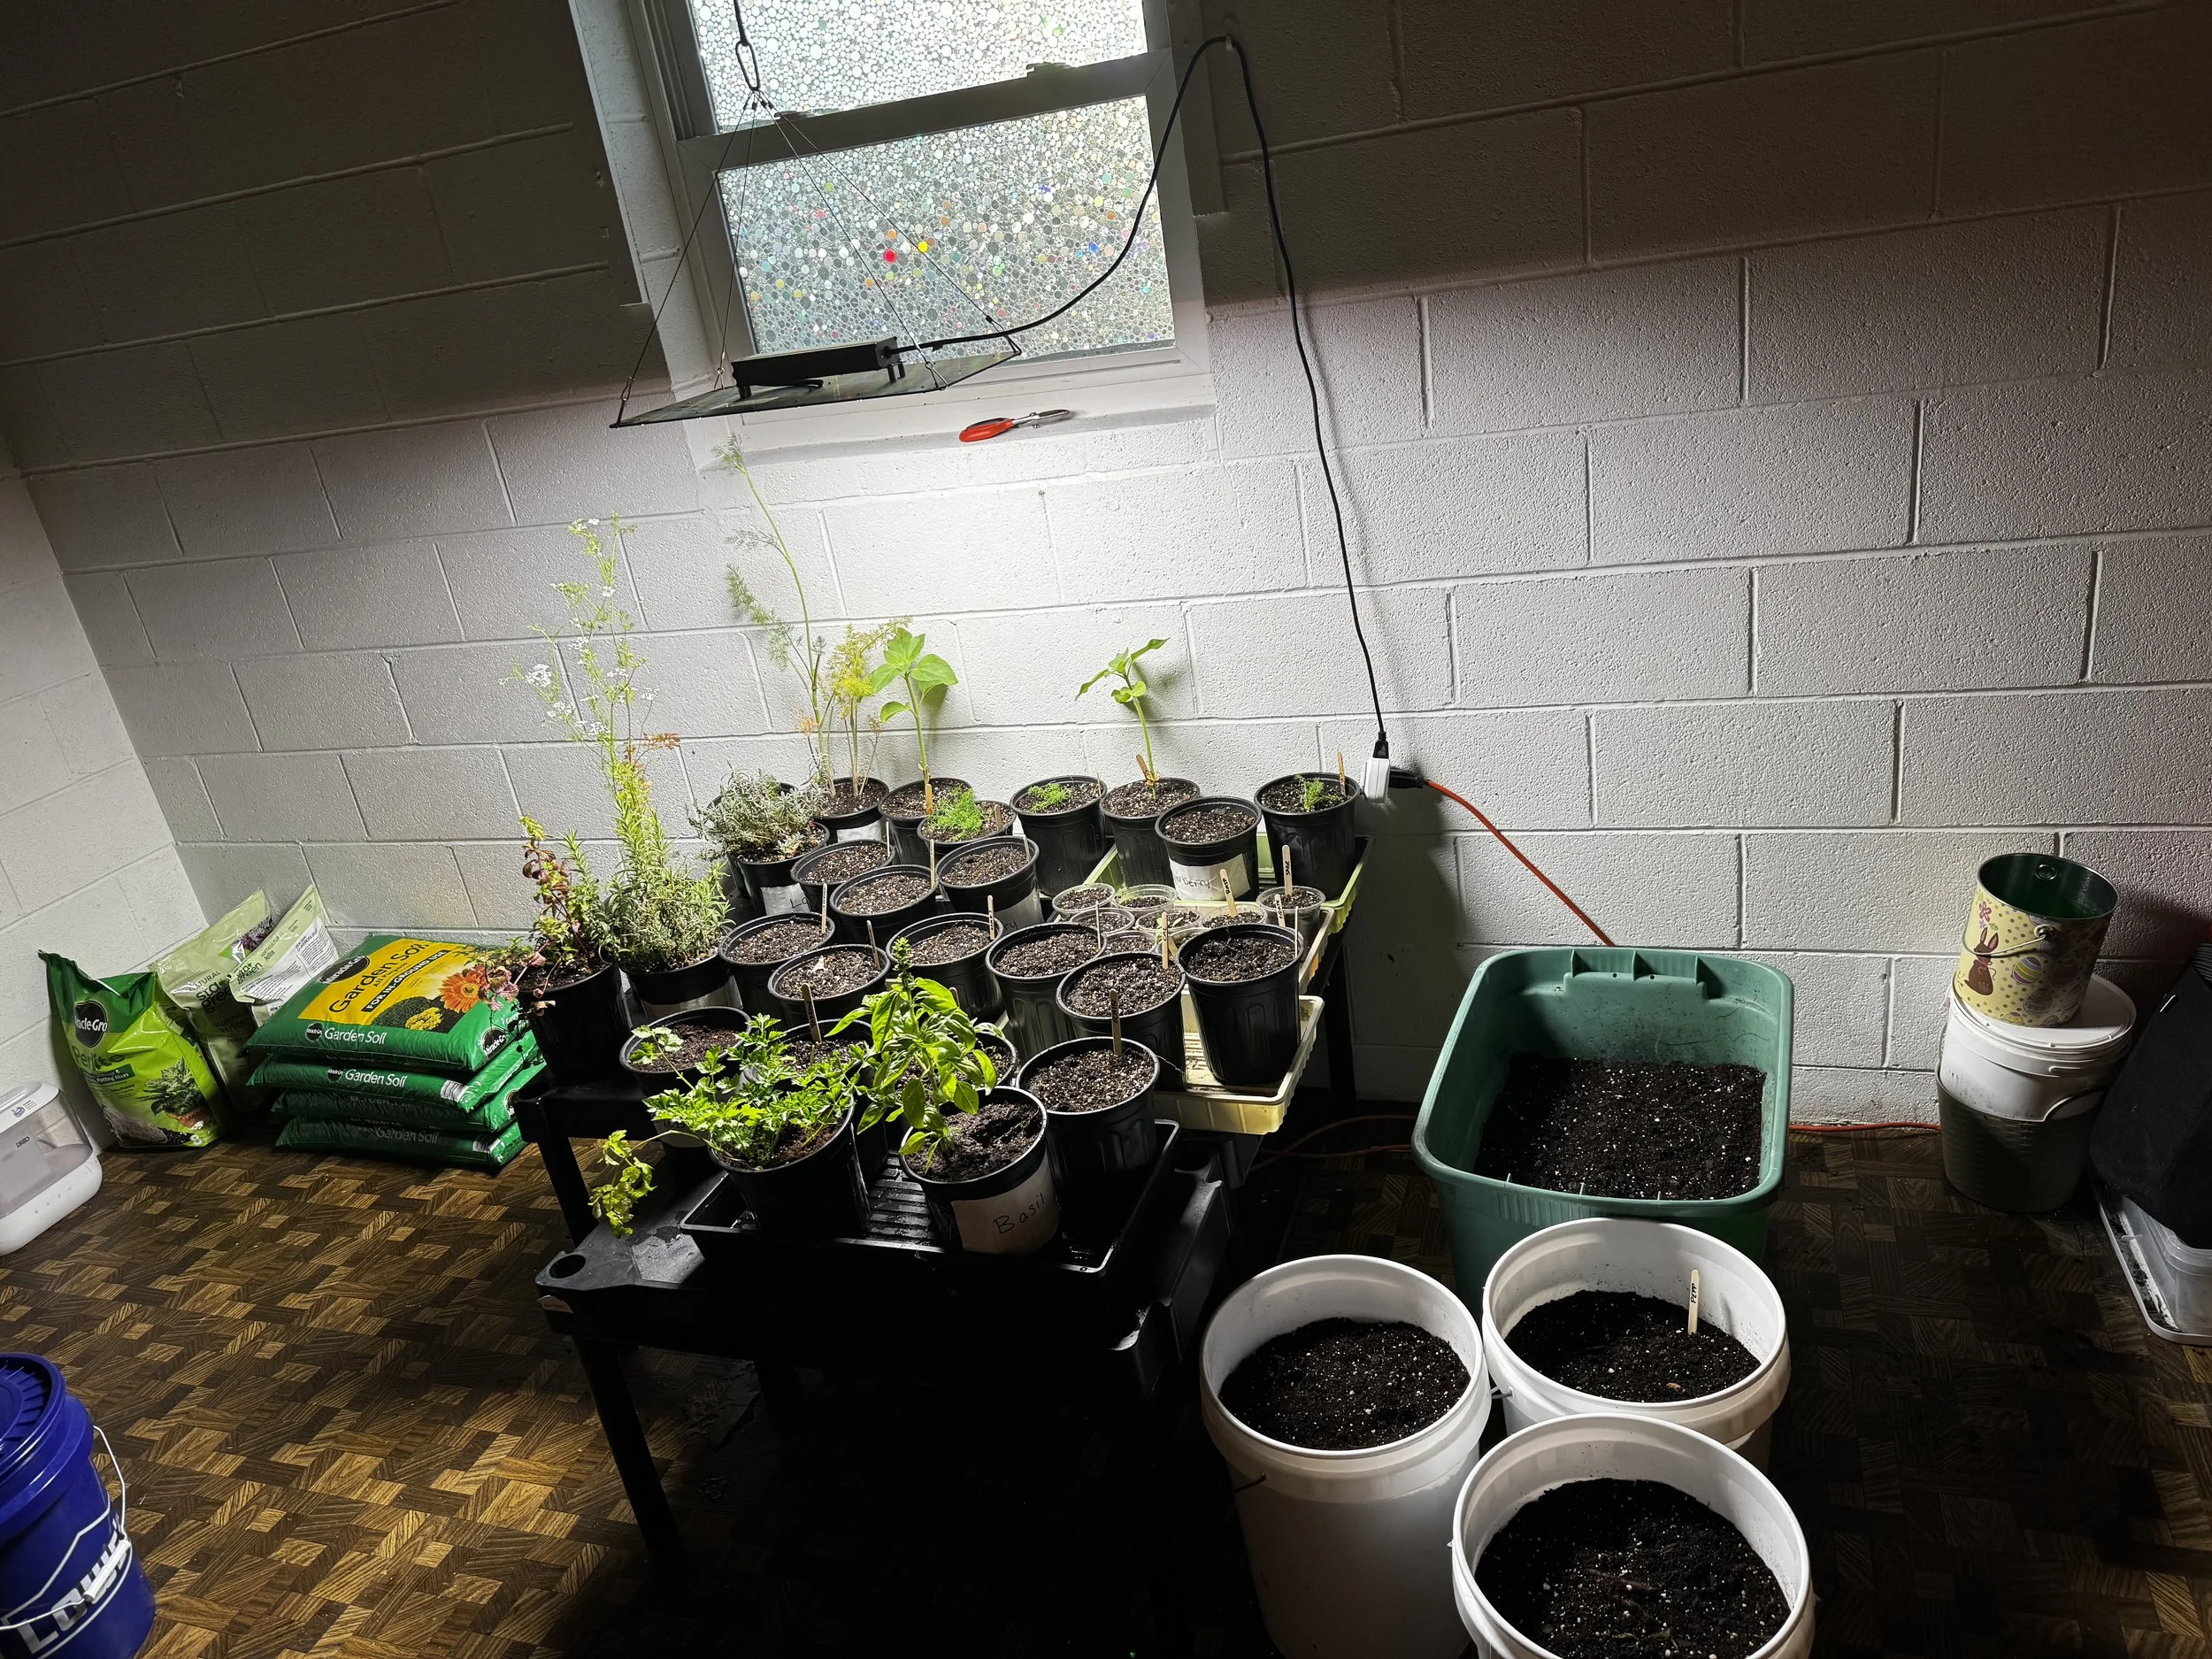
Most of my plants begin their lives in the basement.
The setup itself is surprisingly simple. I use a plastic shelving unit with a grow light hanging from the ceiling. I have realized that I am going to need more lights here soon. Lighting was one thing that I underestimated. Always splurge on more lights if you have extra money. You won’t regret it… just don’t look at your electric bill :-)
When I first built the setup, I thought it would be more space than I could ever need.
I was wrong.
Very wrong.
By spring, every shelf was packed with seed trays, herbs, vegetables, and experimental plants that I convinced myself I absolutely needed to grow.
The nice thing about a shelving setup is that it doesn't require a lot of floor space. Mine fits neatly against a wall and gives me multiple growing levels. If you're gardening in an apartment, basement, spare bedroom, or garage, vertical growing space becomes incredibly valuable.
Looking back, one thing I would do differently is add another grow light. Several of my seedlings became leggy because I tried to fit too many plants under a limited amount of light. The plants were stretching upward trying to reach the light source, which resulted in weak stems and floppy seedlings.
Some of the plants eventually recovered once they moved outside, but it was a good reminder that seedlings generally need more light than we think they do.
The Supplies I Actually Use
When I first started gardening, I spent way too much time trying to figure out what equipment I needed. The truth is that you need far less than most gardening videos would have you believe.
Plastic Shelving Unit
The backbone of my indoor setup is a simple plastic shelving unit. The biggest advantage isn’t the shelf, but I can grow vertically or spread out the shelves into a single table. I also just carry these shelves outside with the plants on them when I want to put them outside for more sun.
The only change that I did make to the shelves is that I drilled a draining hole where the tubes connect into the shelf. This way if anything drains onto the shelf, it has somewhere to go. This is mostly important if you are bringing your shelf outside as these holes can and will fill up with water and grow algae.
Grow Lights
Since my basement doesn't receive enough natural light, grow lights are essential.
One mistake I made early on was trying to spread the lights across too many plants. The farther the lights were from the seedlings, the leggier the plants became. If your seedlings are tall, floppy, and leaning toward the light source, they probably need more light or the lights need to be moved closer.
This winter I will be investing in a second and maybe third light for this area to increase the amount of light the seedlings and plants get as I will keep my garden growing as best as possible indoors over the winter.
I bought these lights from Amazon for use in the grow tent that I invested in and use the grow light that came with the tent for my seedlings.
One-Gallon Pots
If I had to recommend one container size to a beginner, it would probably be a one-gallon pot.
Many of my herbs spent months growing happily in one-gallon containers. They're large enough to support healthy root growth while still being small enough to move around easily.
They're also affordable, easy to find, and don't require huge amounts of soil. I grabbed this 60 pack of 1 gallon pots on Amazon for a decent price.
Potting Mix
My current mix contains compost, garden soil, peat moss, perlite, and worm castings.
As I've learned more about individual plants, I've started adjusting the mix slightly depending on what I'm growing. Lavender gets a little more drainage. Tomatoes get more room. But for most herbs, this basic mix has worked well.
If you're just getting started, don't let soil perfection stop you from planting something.
I also wouldn’t overspend on soil to start. Get a good potting mix or combine garden soil, compost and perlite together to get a good draining mix. Honestly, in a few months, you’re going to need to either repot your plants or fertilize them as they will run out of nutrients in the pot they’re in.
So give the plant a good place to root into with good drainage to prevent too much moisture retention, but also have some moisture retention. Yeah- it's confusing. It was to me too. But then I thought about it like this.. if I have a plant in a 1 gallon pot, it only has that much space for roots, and it only gets that much food. Water will drain out the bottom and the plant has no where else to reach for to get what it needs. Containers also dry out faster than the ground or raised beds. It’s the nature of being smaller and exposed to the heat and wind on all sides of the plant and container.
What Can You Grow in Containers?
One thing that surprised me when I started gardening was how much you can actually grow in containers. Before I began, I assumed vegetables needed large garden plots and herbs needed dedicated herb beds.
It turns out many plants are perfectly happy growing in pots.
Some of the plants I've grown successfully in containers include:
Chamomile
Lavender
Lemon Balm
Rosemary
Basil
Calendula
Tomatoes
Peppers
Cucumbers
Beans
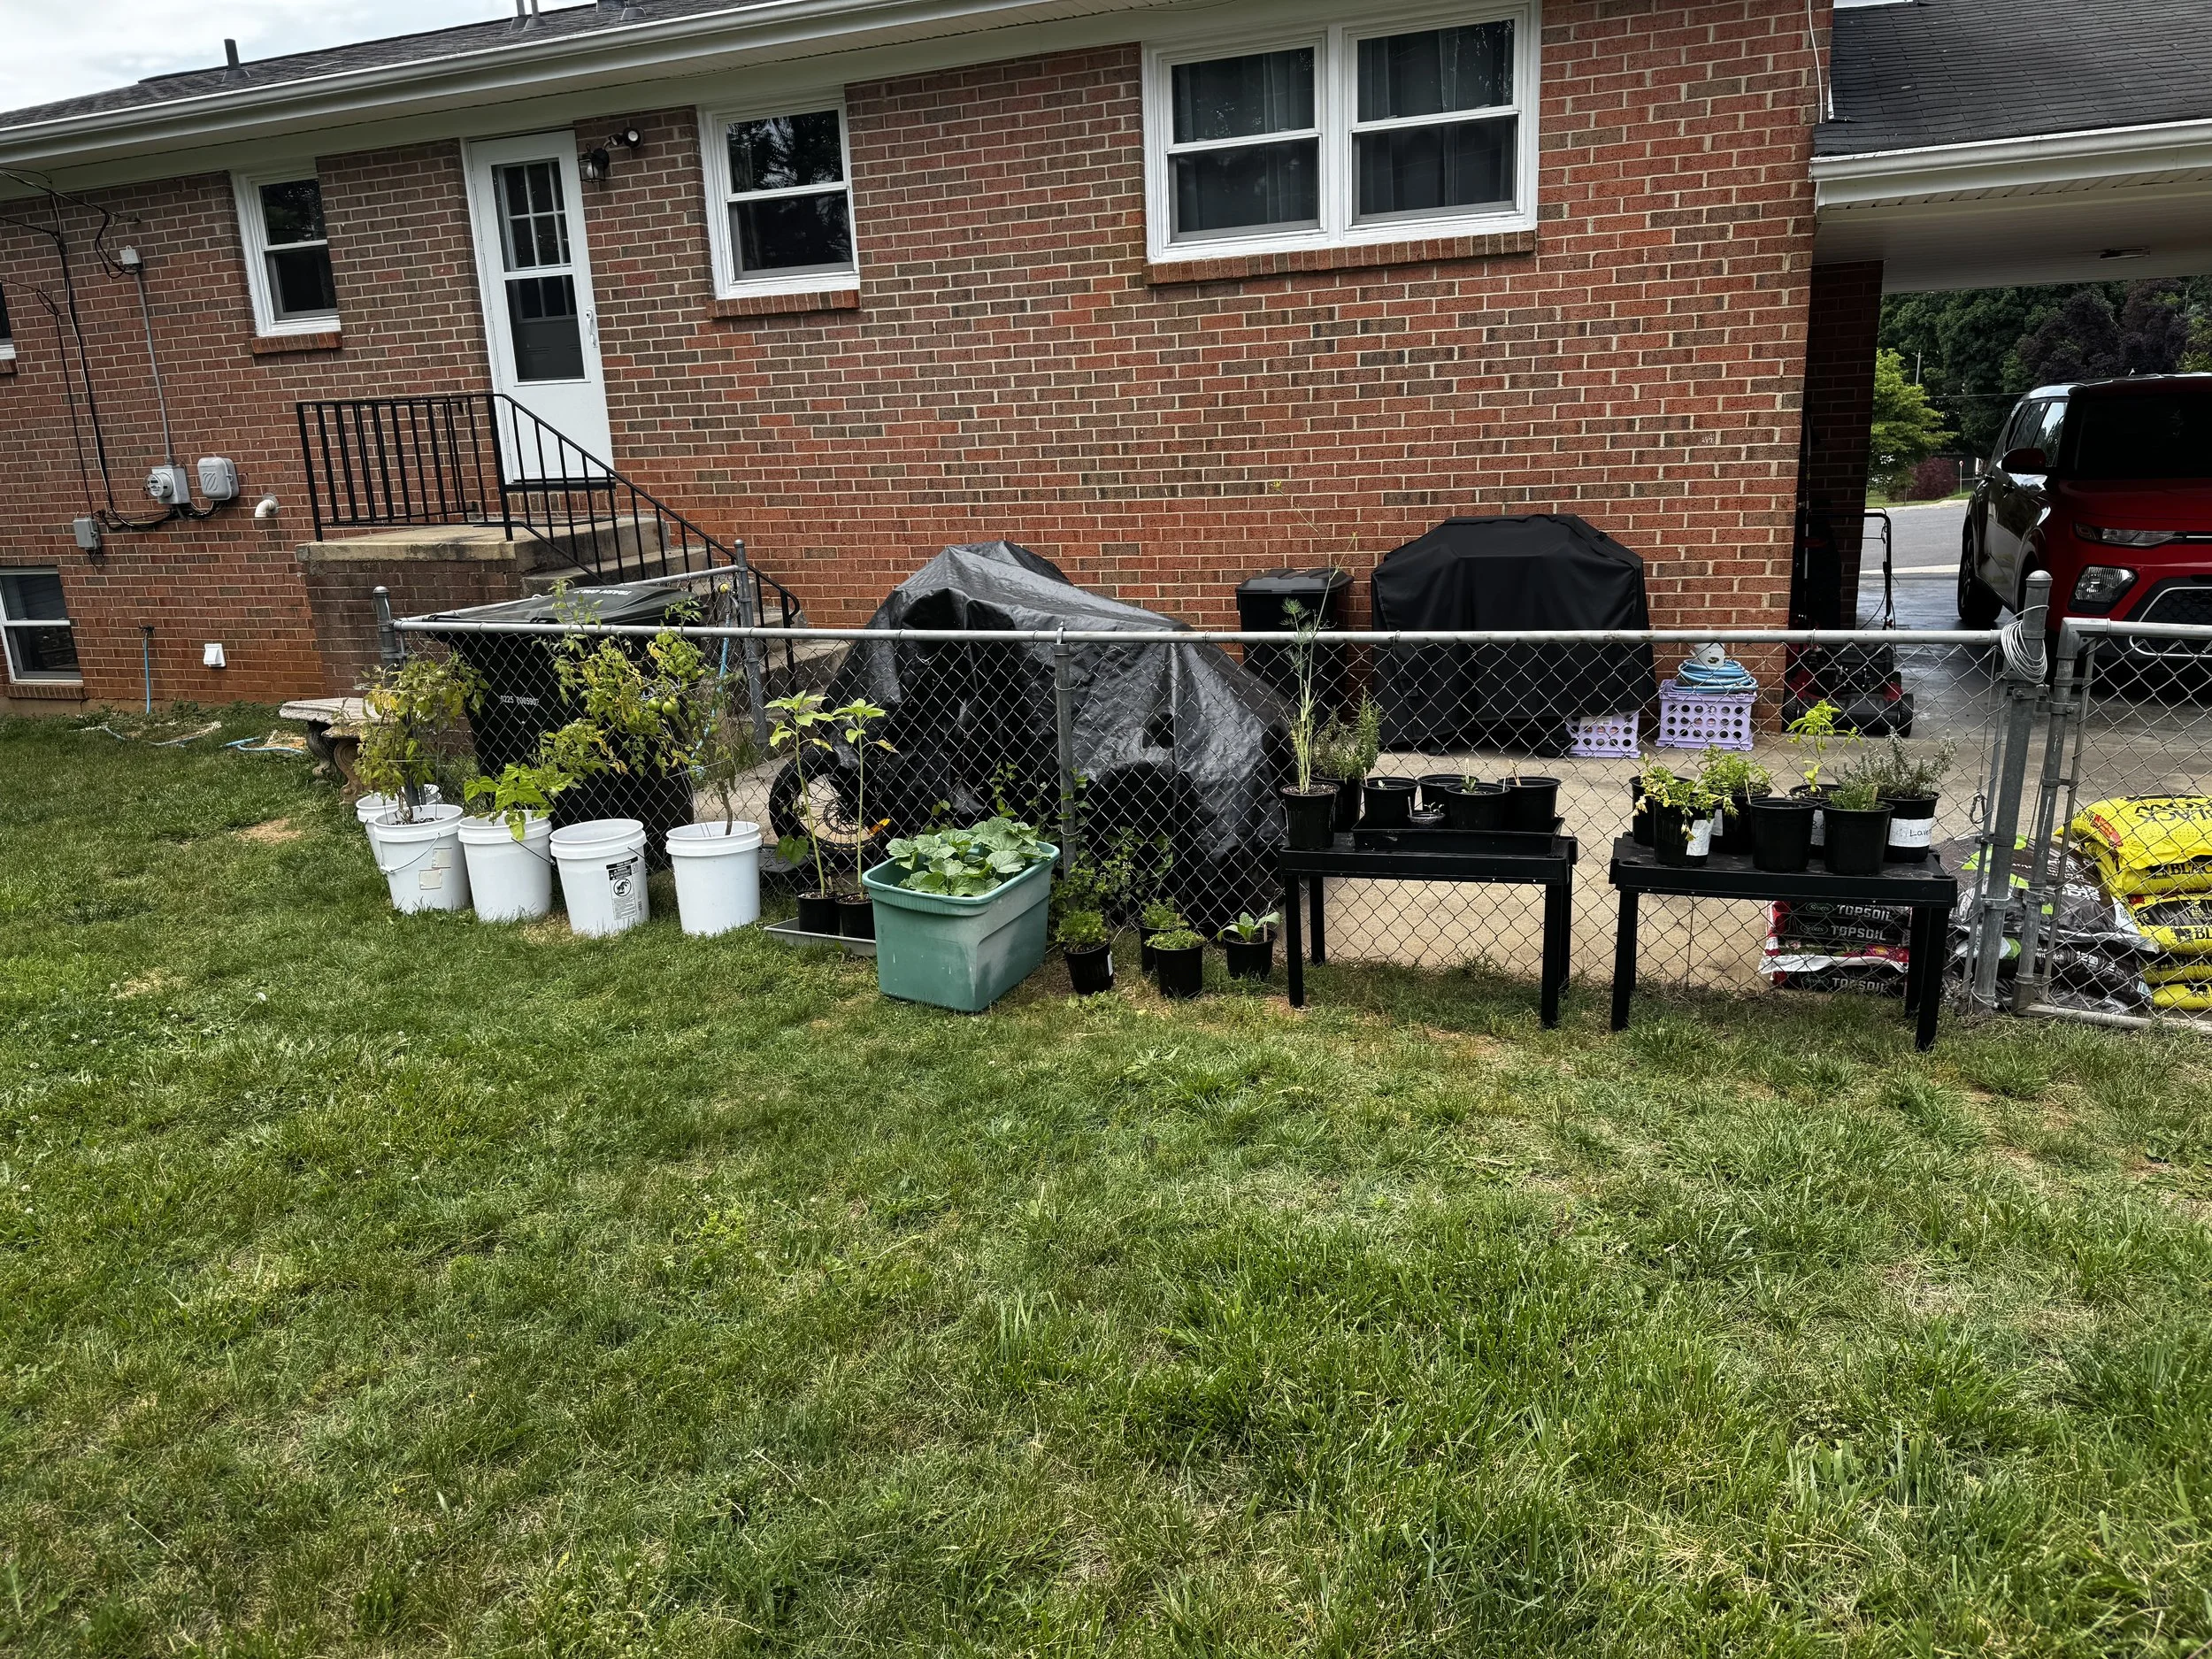
Some plants eventually appreciate more room, but that doesn't mean they can't get their start in containers. In fact, several of the plants currently growing in my raised beds began their lives in one-gallon pots. And even though I have raised beds, I still keep some plants in buckets and pots.
Choosing the Right Container Size
One thing I learned fairly quickly is that bigger isn't always better.
At first, I thought every plant needed the largest container possible. Then I realized I was carrying around giant pots filled with expensive soil when smaller containers would have worked just fine.
For many herbs, a one-gallon container works surprisingly well. Plants like chamomile, basil, calendula, and young rosemary can spend quite a bit of time growing happily in smaller pots.
Larger plants eventually need more space. My lavender and rosemary were just replanted into 5 gallon grow bags yesterday after a year in a 1 gallon pot. My tomatoes and peppers tend to appreciate at least five gallons of soil if they’re not in the raised bed.
The nice thing about starting smaller is that you can always transplant later if needed. Which I have done many times.
How Much Does Container Gardening Cost?
Let's talk about the part that most gardening articles conveniently skip.
Soil is expensive. For example, 2 bags of soil, 2 bags of compost and a small bag of perlite can cost you close to $30 and that will get you about 10-15 one gallon containers. My raised beds cost about $110 in soil and compost to fill.
The seeds are usually the cheapest part of the entire project. The shelves, lights, containers, and soil are where most of the money goes.
The good news is that many of those purchases are one-time investments. I expect my shelves, lights, and containers to last for years.
If you're working with a limited budget, I would focus on buying good lights and a few containers first. It's much easier to add more containers later than it is to grow healthy seedlings without enough light.
The Biggest Mistakes I've Made
I've made plenty of mistakes while learning to garden. Fortunately, plants are often more forgiving than we give them credit for. But sometimes, you have to take the L and try again.
Overwatering
This is probably my biggest gardening weakness. I like watering plants. It makes me feel like I’m doing something in my garden everyday but my plants do not always share my enthusiasm. Especially my chamomile.
For months I watered many of my plants on a schedule instead of checking whether they actually needed water. Some tolerated it. Others made their displeasure known through yellow leaves and poor growth.
These days I check the soil first.
I also find myself watering based on weather as well. If I know that it’s going be hot, dry and windy, I try to give the plants a small watering everyday during the heat and a good soaking once a week. This also helps keep the soil temperature down.
Not Enough Light
Several of my seedlings became leggy because I tried fitting too many plants under a limited amount of light. The plants stretched upward trying to reach the light source and developed weak stems. This has caused me to loose more than a few plants. Most recently this happened to my fennel before I moved it outside.
Moving the lights closer solved most of the problem.
Starting Too Many Plants
This is a mistake I'm still making. What started as a few tea herbs eventually became more than two dozen different plants.
I'm not saying you shouldn't start extra seeds.
I'm just saying you should probably have a plan for where they're all going to live.
When you open a seed packet and you can barely tell one seed from another because they’re so small, like chamomile, you end up planting more seeds than you need and this can actually hurt the plant if you don’t thin then out early enough. Too many plants together can reduce airflow and increase the chance of disease and pest problems.
Moving Plants Outside
Eventually spring arrives and all those seedlings need to experience the real world.
Before moving them outdoors permanently, I harden them off over the course of about a week. This simply means gradually exposing them to sunlight, wind, and changing temperatures.
The first few trips outside are usually only a few hours long. Then I slowly increase the amount of time they spend outdoors each day. I also make sure to bring them inside at night if I am doing this around the end of March and April as temperature swings here are rough. 80 during the day for a few days, then we drop to 38-45F at night. That’s a bit much for seedlings who have had a very sheltered temperature controlled life so far.
One thing I've noticed is that most plants seem much happier once they move outside. Growth speeds up, stems become sturdier, and the plants generally start looking healthier.
The challenge is timing. Here in Virginia, I've learned that Mother's Day is often considered the safe planting date. Coming from Florida, that still feels surprisingly late.
What I'm Growing Right Now
At the moment, my garden contains a mix of tea herbs, culinary herbs, vegetables, and a few experimental plants.
Some of the herbs I'm currently growing include chamomile, lavender, lemon balm, rosemary, calendula, echinacea, basil, borage, parsley, and hyssop.
The vegetable side of the garden includes tomatoes, peppers, cucumbers, beans, and grapes. As the vegetables that I prefer are mostly cool season vegetables, my current garden doesn’t have much. And as much as I would love to grow a watermelon, I decided to try cantaloupe instead as they will take up less space.
Not every plant has been successful. Some have thrived while others have taught me valuable lessons. That's part of the fun. Every season teaches me something new.
When Container Gardening Stops Being Enough

Eventually I reached a point where containers alone weren't enough. What started as a handful of herbs turned into more than 25 different plants over the course of a few seasons. The backyard was filled with pots, buckets, and containers of every size.
At some point I realized I needed more growing space. That's what eventually led me to build two raised beds. You can check out how I did this as a renter in this post.
The nice thing is that the containers weren't wasted. Many of the plants started in containers before being transplanted into the raised beds, and I still use containers for plants that need special care or different growing conditions.
Containers weren't a stepping stone to gardening. They were gardening. The raised beds simply gave me room to expand.
If I Were Starting Over Today
If I were starting from scratch tomorrow, I would make things much simpler. Instead of buying dozens of seed packets, I would probably start with:
Chamomile
Lemon Balm
Basil
One tomato plant
One pepper plant
Those five plants alone would teach most of the skills a beginner gardener needs to learn. They grow relatively easily, provide useful harvests, and give you a chance to build confidence before moving on to more challenging plants.
Most importantly, they won't completely take over your basement.
Probably.
Final Thoughts
If you're thinking about starting a container garden, my advice is simple.
Start.
You don't need a greenhouse.
You don't need raised beds.
You don't need a perfect setup.
My garden started with a shelving unit in the basement, a few containers, and a packet of chamomile seeds.
A few months later I had enough plants that I needed two raised beds and was running out of room. Whether you're interested in herbs, vegetables, flowers, or simply learning something new, container gardening is one of the easiest ways to get started.
Just be warned.
What starts as a few pots can turn into an entire garden before you realize it.