
How to Grow Chamomile: From Seed to Tea Cup

When I first decided to grow chamomile, I wasn't thinking about pollinators, herbalism, or even companion planting. I wanted to make tea. That was the entire plan. I bought a packet of seeds, planted them in a pot in my basement, and hoped that eventually I would end up with enough flowers to dry and put into a teacup.
A few months later, I had flowers.
If you're looking at a packet of chamomile seeds and wondering if it's worth growing, I would absolutely say yes. Out of all the herbs I've grown so far, chamomile has been one of the easiest and most rewarding. It's beginner-friendly, grows fairly quickly, attracts pollinators, and doesn't require constant attention once it's established. Even if you never make a cup of tea, it's a beautiful addition to the garden.
Whether you're growing in containers, raised beds, or directly in the ground, chamomile is a great herb to start with.
Why Grow Chamomile?
There are a lot of reasons people grow chamomile. Some gardeners grow it for tea, while others grow it because they enjoy having pollinators in the garden. Some simply like the cheerful little flowers that seem to bloom endlessly throughout the summer.
For me, it started with tea, but I've found myself appreciating the plant for a lot more than that. The flowers attract bees, the plants don't take up a tremendous amount of space, and once flowering begins, you'll often have more blossoms than you know what to do with. It's also one of those herbs that doesn't make you feel like you're constantly fighting to keep it alive.
Another thing I like about chamomile is that it grows quickly compared to many other herbs. Lavender, for example, often feels like it's taking its sweet time getting established. Chamomile, on the other hand, seems eager to get growing and start flowering as soon as possible.
If you're new to gardening and want an herb that will give you a relatively quick win, chamomile is a good choice.
Choosing a Chamomile Variety
Before planting, you'll want to decide which type of chamomile you'd like to grow. Most gardeners will come across two options: German Chamomile and Roman Chamomile.
German Chamomile is the variety most commonly used for tea. It's an annual plant, which means you'll need to replant it each year unless it reseeds itself. Fortunately, it often does exactly that. German chamomile grows taller than Roman chamomile, usually reaching between one and three feet in height, and it produces an impressive number of flowers throughout the season.
The flower heads have white petals surrounding a raised yellow center. If you've ever purchased chamomile tea from the store, there's a good chance this is the variety that was used.
Roman Chamomile is a little different. It's a perennial plant, meaning it can come back year after year in the right conditions. It stays much shorter than German chamomile and tends to spread more like a groundcover. The flowers look very similar, though the yellow centers are flatter.
Both can be used in teas and herbal preparations, but if your main goal is harvesting flowers for tea, German chamomile is usually the variety most people choose.
How Long Until You Can Harvest?
This was probably my biggest question when I first started growing chamomile.
I didn't really care how tall it would get or how attractive it looked in the garden. I wanted to know how long it would take before I could actually make tea.
The answer is: not nearly as long as I expected.
Under normal growing conditions, chamomile seeds usually germinate within a week or two. The seedlings spend the next month or so getting established, and then flowers typically begin appearing about six to ten weeks after planting.
In practical terms, that means you're usually looking at somewhere around two to three months from seed to your first harvest.
The nice thing is that chamomile isn't a one-time harvest. Once flowering starts, the plant keeps producing new flowers throughout the season. In fact, regular harvesting often encourages it to produce even more blooms. The first flower is exciting, but after a while you'll find yourself checking the plants every few days to see what else is ready to pick.
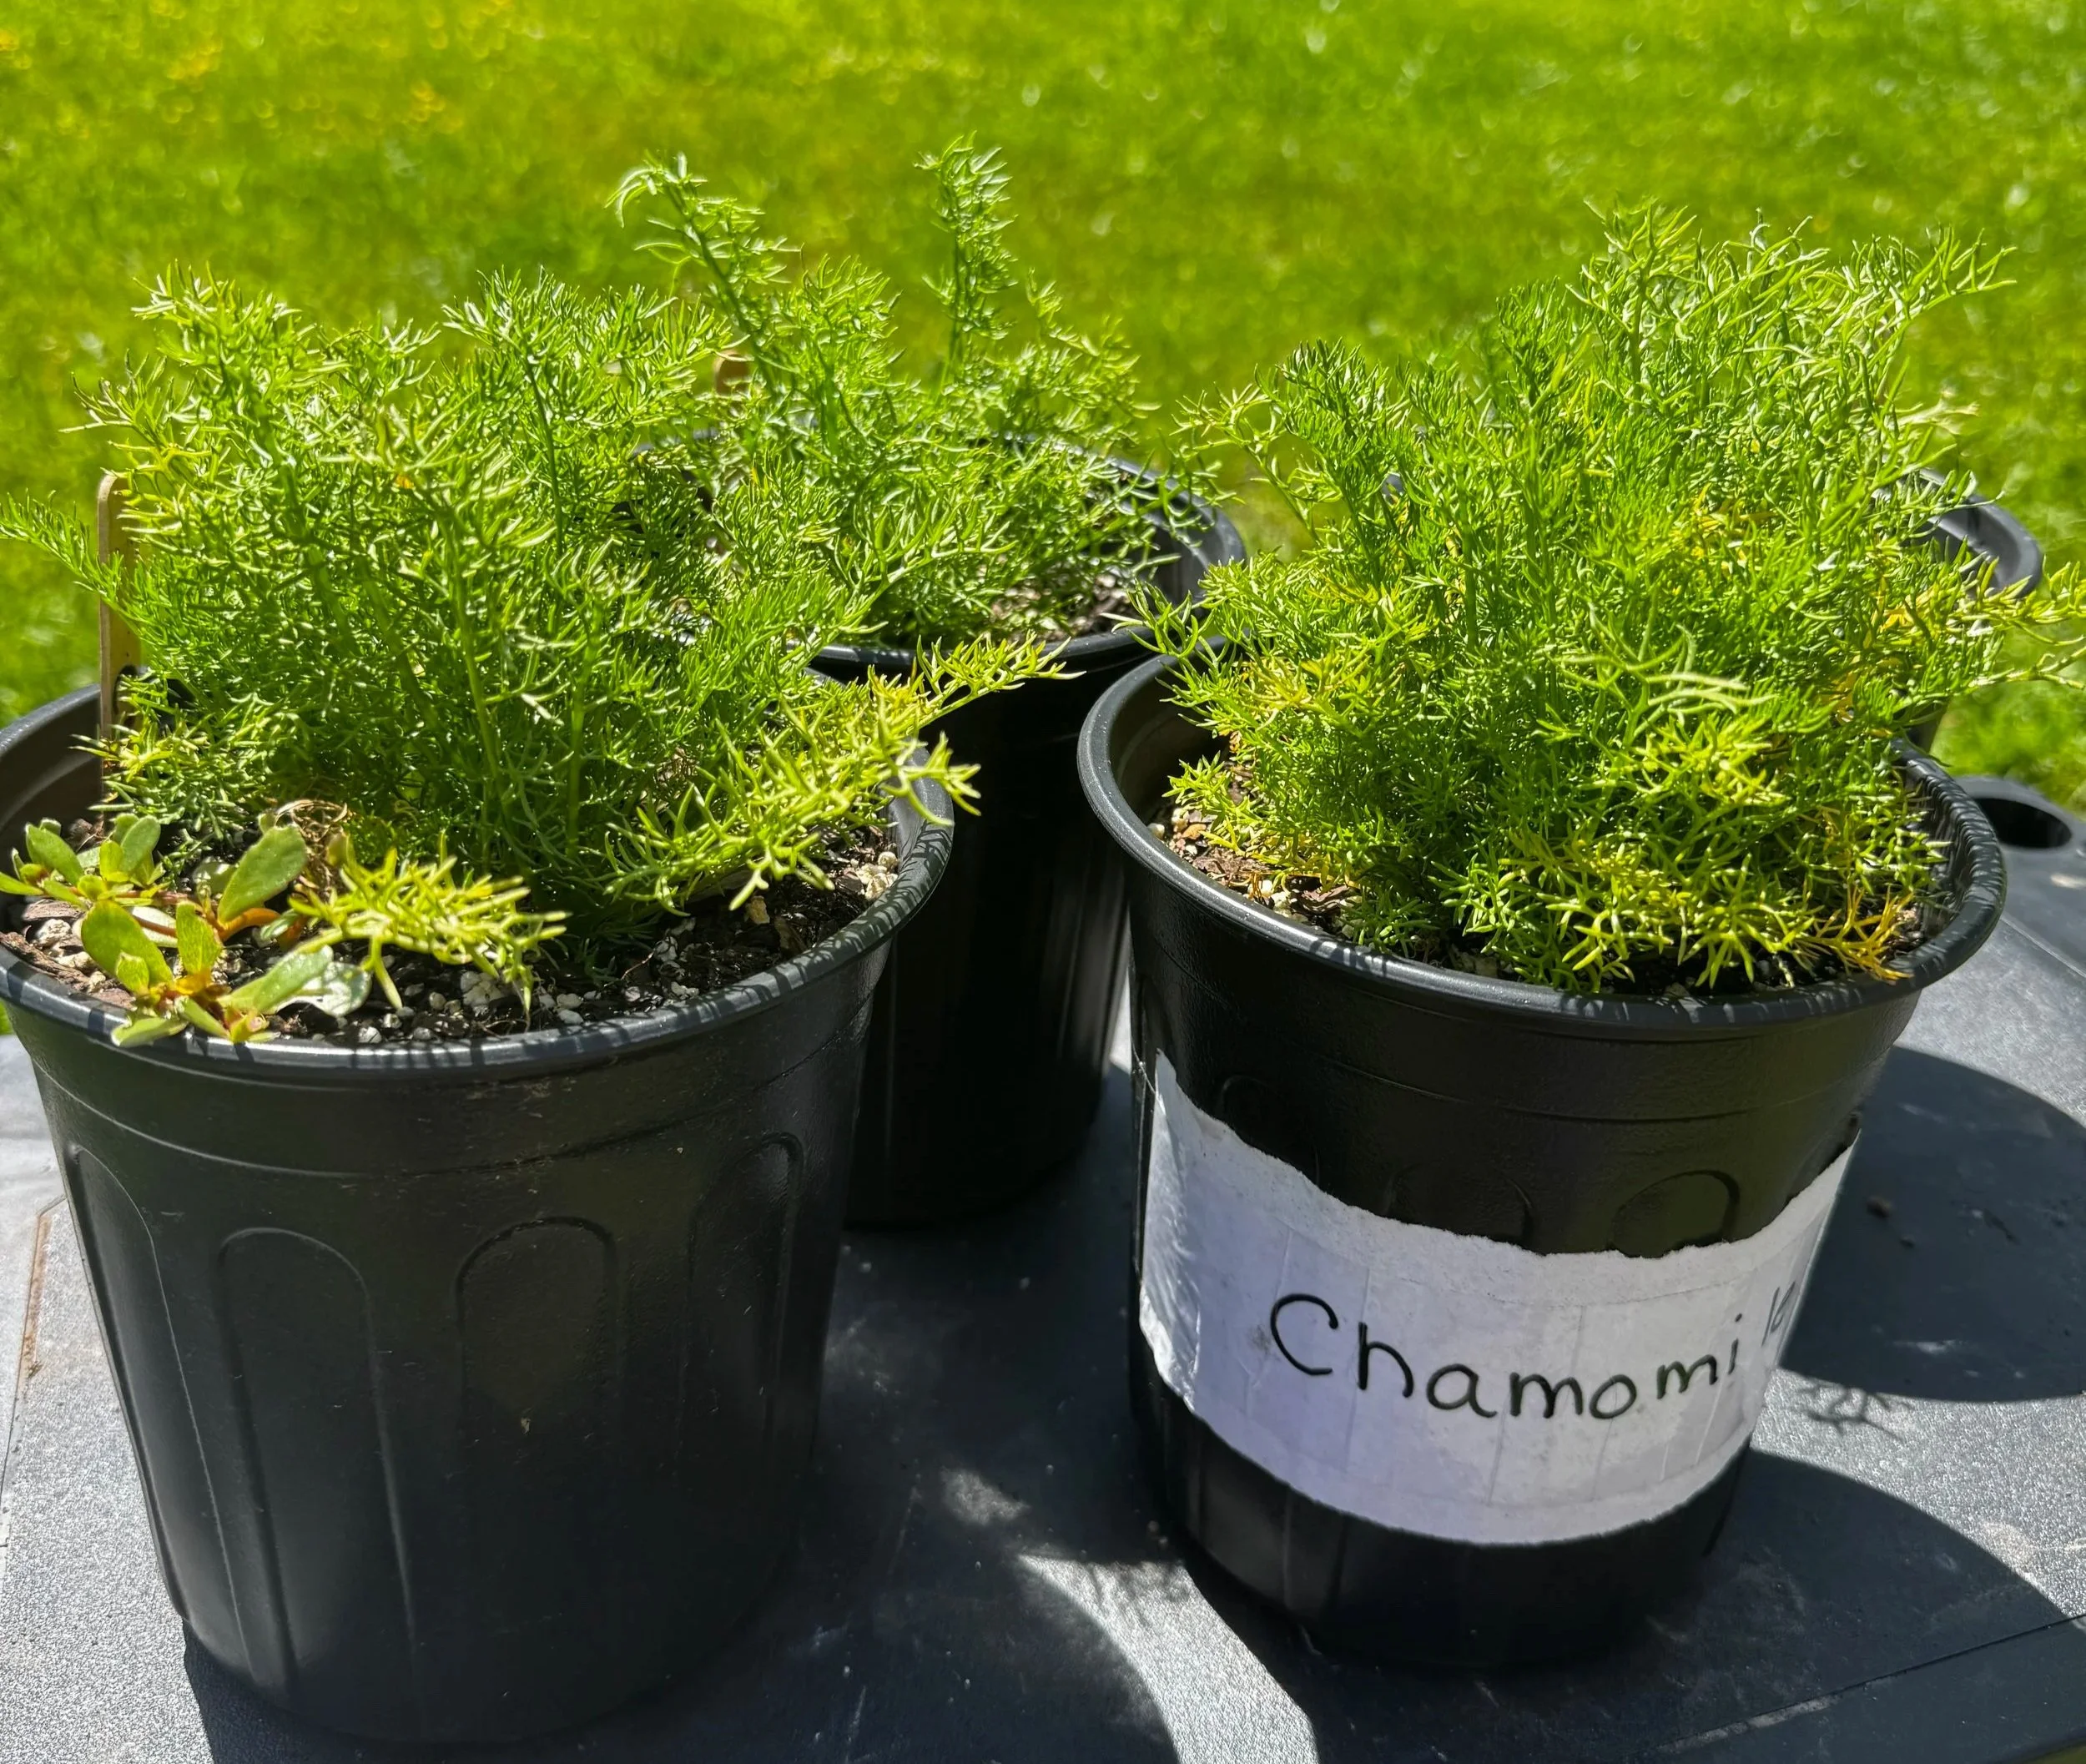
Chamomile that should have been thinned.
Starting Chamomile From Seed
One thing that surprised me when I opened my first packet of chamomile seeds was just how tiny they were.
Tiny is actually being generous.
They look more like dust than seeds.
This becomes important because it's very easy to accidentally sow far more seeds than you intended. The first time I planted chamomile, I sprinkled what seemed like a reasonable amount into a pot. A few weeks later I had a miniature forest growing where one or two plants would have been more appropriate.
When to Start Seeds
If you're starting seeds indoors, begin about four to six weeks before your last expected frost date. You can also sow seeds directly outside after the danger of frost has passed.
Planting the Seeds
When planting, fill a seed tray or small pot with moist seed-starting mix and sprinkle the seeds on the surface. Gently press them into the soil, but don't bury them deeply. Chamomile seeds need light to germinate, so covering them with soil can actually reduce germination rates.
After planting, lightly mist the surface and place the container somewhere bright. Then comes the hardest part of gardening: waiting.
Germination and Light
German chamomile usually germinates within 7-14 days. Roman chamomile may take a little longer. During this time, keep the soil consistently moist, but not soaking wet.
Once the seedlings emerge, make sure they have plenty of light. This was one of the biggest mistakes I made when I first started growing herbs indoors. I tried to fit too many trays under one grow light and ended up raising the light higher than I should have. The seedlings stretched upward trying to reach it and became tall, thin, and floppy.
Keeping grow lights a few inches above the seedlings made a huge difference. The plants stayed compact, developed stronger stems, and generally looked much healthier.
Thinning Seedlings
Because the seeds are so tiny, it's very easy to sow too many.
Ask me how I know.
At first the little green carpet looks adorable.
A few weeks later you realize you've accidentally created a chamomile traffic jam.
You've probably grown far more seedlings than you actually need. Because the seeds are so small, overcrowding is extremely common. Once the seedlings develop a few sets of true leaves, thin them out so each plant has enough room to grow.
This part always feels a little cruel, but it's better to remove a few seedlings early than to have every plant struggle because they're competing for space, water, and sunlight.
Hardening Off
If you've started your chamomile indoors, you'll need to harden it off before planting it in the garden. This is just a fancy gardening term for helping your seedlings adjust to life outside.
The first time I grew chamomile, I underestimated how different the outdoors really is. Inside, the plants have steady temperatures, no wind, and controlled lighting. Outside, they're suddenly dealing with direct sunlight, changing temperatures, rain, and wind that can toss around a small seedling like it's nothing.
I usually start the process by putting my seedlings outside in a shaded area for a few hours during the afternoon. After a few days, I'll gradually increase the amount of time they're outside and begin exposing them to more direct sunlight. Within about a week, they've usually adjusted well enough to stay outside all day.
I try to avoid hardening plants off during particularly windy days. We regularly get strong gusts where I live, and I've found that small seedlings can become stressed pretty quickly when they're constantly being blown around. If the forecast is calling for heavy rain or unusually strong winds, I'll often wait another day before putting them outside.
Once nighttime temperatures are consistently in the 50s, I generally leave the seedlings outdoors full time. In fact, most of my herbs seem much happier once they make the move outside. Growth speeds up, stems become sturdier, and the plants start looking like they actually want to be alive.
When to Transplant
Once your chamomile has several sets of true leaves and a healthy root system, it's ready for a more permanent home. I usually wait until all danger of frost has passed before transplanting. Around here, that's generally sometime after Mother's Day, which still feels surprisingly late to me after growing up in Florida.
German chamomile benefits from a little breathing room and should be spaced about 8 to 12 inches apart. Roman chamomile can be planted slightly closer together, though I still like giving it enough space to spread naturally.
The spacing can look excessive when you're planting. Tiny seedlings sitting a foot apart can make a garden bed feel empty. A month or two later, though, you'll understand why the recommendations exist. Chamomile fills in quickly, and crowded plants are much harder to manage later in the season.
Sunlight
Chamomile really likes sun. If you're trying to decide where to plant it, choose one of the brightest spots you have available. A minimum of six hours of direct sunlight per day is ideal, though more is usually better.
I noticed a dramatic difference once my plants moved from the basement under grow lights to the raised beds outside. The stems became sturdier, growth accelerated, and the plants developed that dense, bushy appearance that you're looking for when growing chamomile for flowers.
If you garden in an area with extremely hot summers, a little afternoon shade can help reduce stress during the hottest part of the day. For most gardeners, though, full sun is the goal.
Soil and Fertility
One thing I appreciate about chamomile is that it doesn't require perfect soil. A good garden soil mixed with compost will usually provide everything it needs.
When I first started gardening, I spent a lot of time reading about soil pH and nutrient levels. Those things certainly matter, but I've learned that many herbs are much more forgiving than gardening articles sometimes make them sound. My chamomile is currently growing in a mixture of garden soil, compost, peat moss, perlite, and worm castings. I couldn't tell you the exact pH, but I can tell you the plants seem perfectly happy.
If you're growing in containers, drainage is probably more important than chasing specific numbers. Chamomile likes moisture, but it doesn't like sitting in water for long periods of time.
I also don't fertilize my chamomile. Some gardeners do, and there's nothing wrong with that, but I've found that herbs often perform well without a lot of extra feeding. In fact, many aromatic herbs develop stronger flavors and aromas when they're not being pushed with excessive fertilizer. Chamomile has done just fine for me with compost and decent soil.
Watering
Watering has probably been my biggest learning experience as a gardener. My natural instinct is to water everything on a schedule. The plants, unfortunately, did not agree with that plan.
Young chamomile seedlings appreciate consistently moist soil while they're becoming established. Once they've developed a stronger root system, I let the top inch of soil dry out before watering again. The easiest way to check is still the old finger test. Stick a finger into the soil and see what's happening below the surface. If it's still moist, I leave it alone. If it's dry, it's time to water.
Most of the problems I've had with chamomile came from trying to help too much. Overwatering is surprisingly easy to do, especially when plants are growing in containers. Learning when not to water has probably helped my garden more than anything else.
Raised Beds vs Container Gardening
One of the things I like most about chamomile is that it doesn't seem to care very much where it's growing. As long as it has enough sunlight and isn't sitting in soggy soil, it's generally pretty happy.
Right now, most of my chamomile is growing in a raised bed. That's mostly because I started too many plants and ran out of room in containers. The raised bed gives them plenty of space to spread out, allows me to plant several together, and generally requires less watering than containers during the heat of summer.
That said, there's absolutely nothing wrong with growing chamomile in pots. In fact, my first successful chamomile plant lived its entire life in a one-gallon container. The biggest challenge with containers is that they dry out faster, especially during hot weather. You may find yourself watering more often than you would in a raised bed or traditional garden.
If you're growing on a patio, balcony, deck, or even a sunny windowsill, don't let the lack of garden space stop you. Chamomile grows perfectly well in containers.
As your plants get larger, you may eventually want to move them into a bigger pot. A five-gallon container gives the roots plenty of room and allows the plant to become much bushier than it would in a small nursery pot.
Honestly, if someone asked me whether they should grow chamomile in a raised bed or a container, my answer would be whichever one you actually have available. Chamomile isn't nearly picky enough to care.
Companion Planting and Pollinators
Even if you never harvest a single flower, chamomile earns its place in the garden.
One of the first things I noticed once my plants started growing outside was how quickly the pollinators found them. It didn't matter that there were plenty of other flowers in the yard. The bees seemed determined to investigate every chamomile bloom they could find.
Chamomile attracts a variety of beneficial insects, including bees, hoverflies, and other pollinators that help support a healthy garden ecosystem. If you're trying to encourage more pollinator activity in your garden, chamomile is a simple way to do it.
Many gardeners also use chamomile as a companion plant. While you'll find all kinds of claims online about what it can and can't do, I think the biggest benefit is simply increasing pollinator and beneficial insect activity around your vegetables and herbs.
I grow mine near tomatoes, peppers, basil, and some of my other tea herbs. Whether it's helping the neighboring plants directly or simply attracting more beneficial insects, it certainly doesn't seem to hurt anything.
And honestly, a patch of chamomile in bloom just makes the garden feel happier. There's something about those little white flowers that makes everything look a bit more alive.
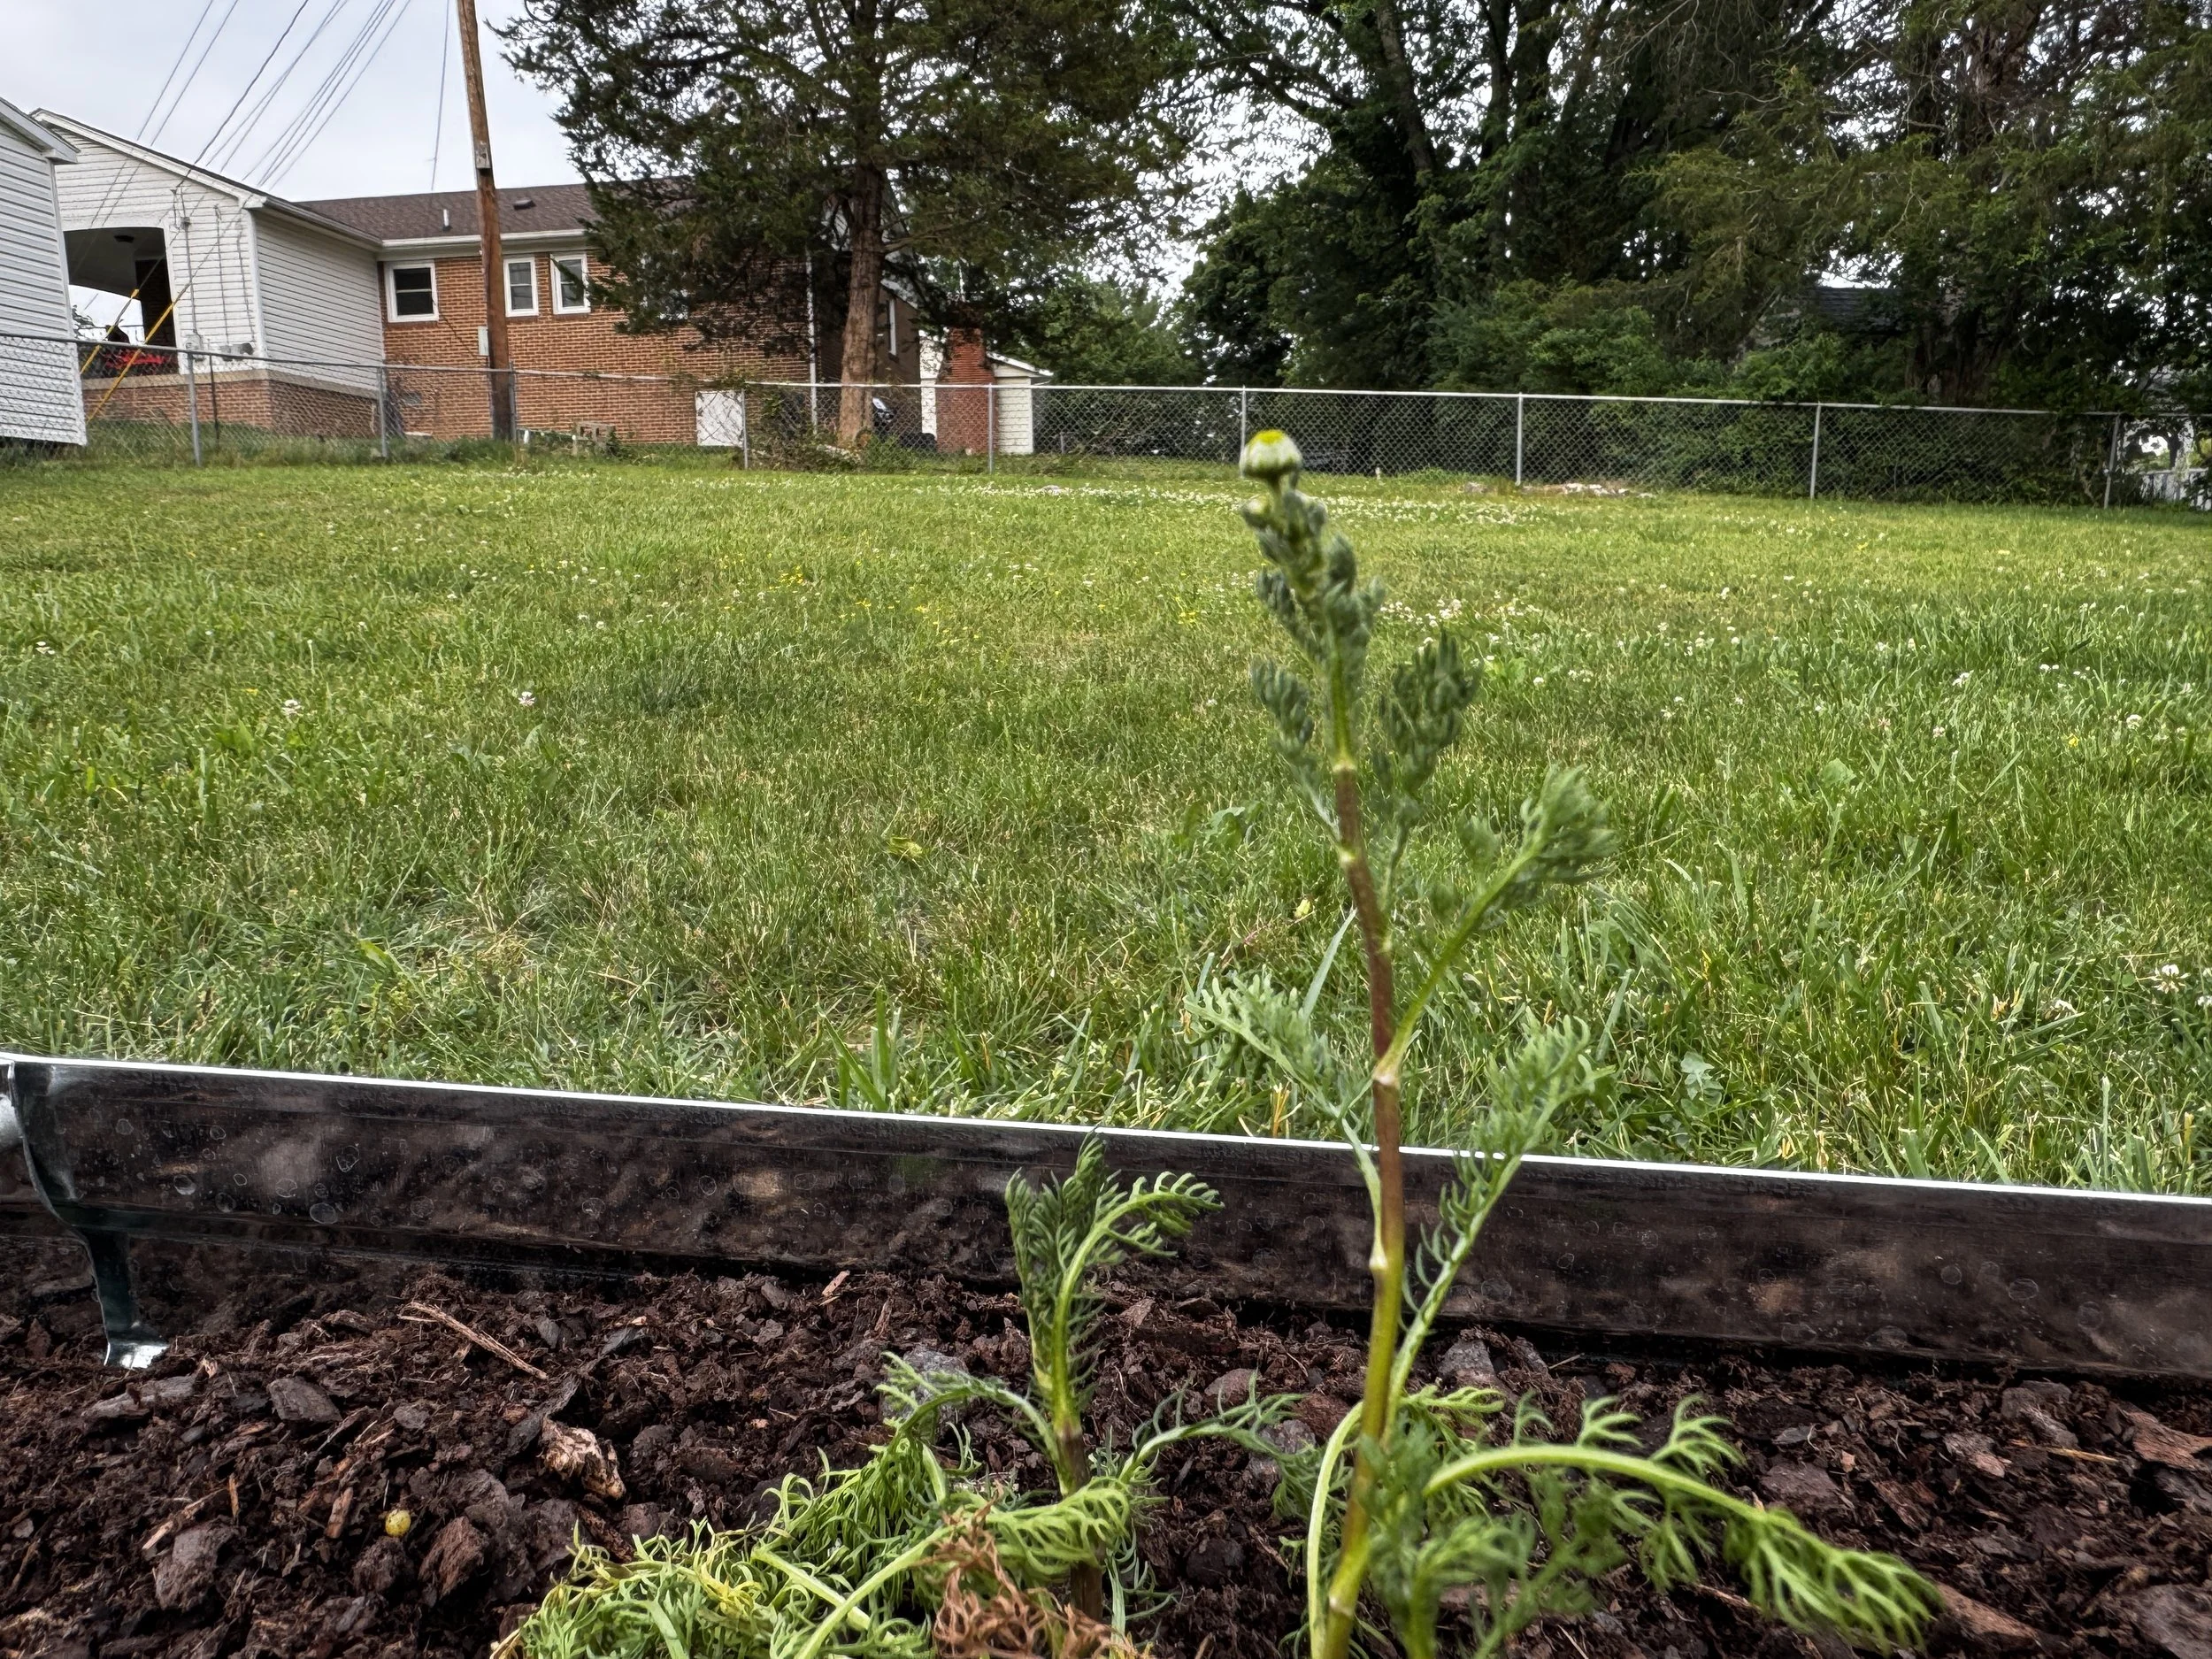
Baby Chamomile flower just starting. I noticed this when I transplanted it into the raised bed.
My Experience Growing Chamomile
So far, chamomile has been one of the easier herbs I've grown, but that doesn't mean I haven't made mistakes.
My first plant actually grew pretty well for several months before I managed to ruin it. I was watering from above and regularly getting the foliage wet. Eventually mold developed on the leaves and the plant never really recovered.
At the time, I thought the problem was the plant.
Turns out the problem was me.
Since then, I've started watering at the soil level and paying more attention to airflow around the plants. The difference has been noticeable.
My second round of chamomile has done much better. In fact, I recently transplanted several plants into a raised bed and noticed my first flower bud while moving them.
It's funny how exciting something so small can be. After weeks of watching tiny green seedlings grow, seeing that first flower felt like proof that all the waiting had finally paid off.
Common Problems
Chamomile is fairly easy to grow, but there are a few problems that seem to show up repeatedly.
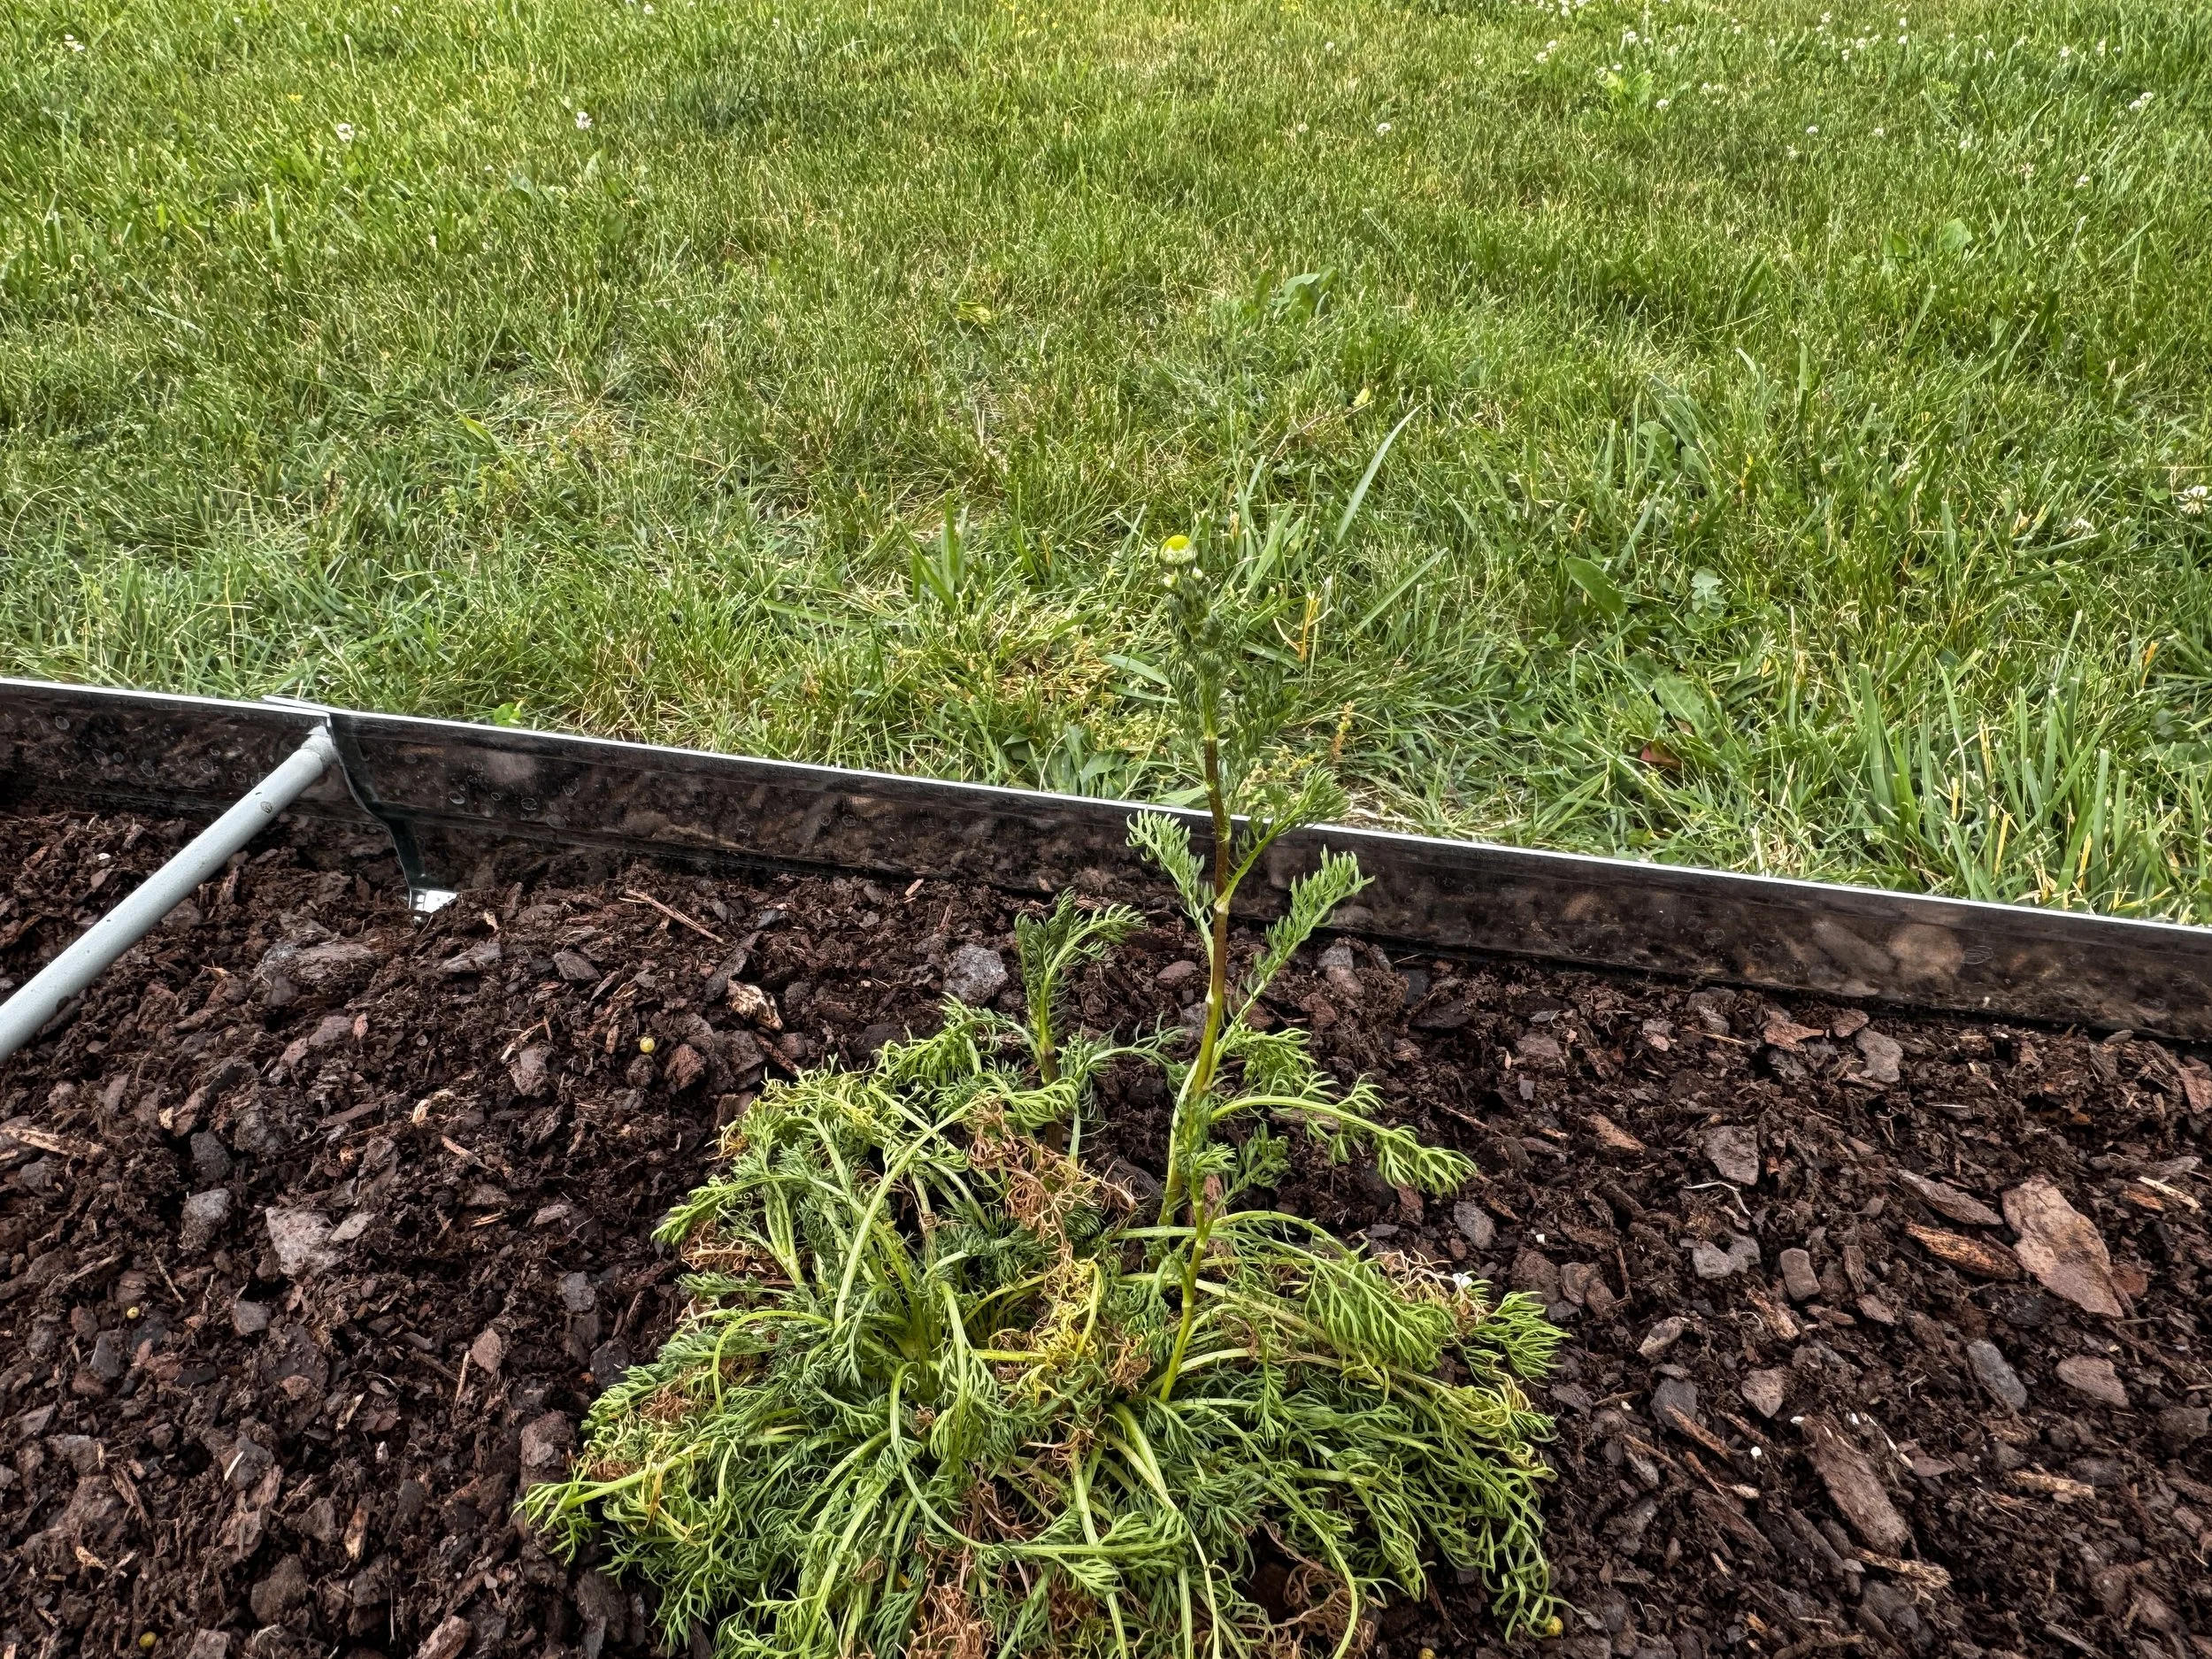
A very unhappy chamomile. Crowded, not enough water, then too much water, then not enough.
Leggy Seedlings
If your seedlings are tall, thin, floppy, or leaning over, the most likely cause is insufficient light.
This is incredibly common when starting seeds indoors.
The seedlings stretch toward the nearest light source and eventually become too weak to support themselves. Keeping grow lights close to the seedlings or providing more direct sunlight usually solves the problem.
I learned this lesson the hard way when I tried to fit too many trays under one grow light. The seedlings weren't impressed with my space-saving strategy.
Overwatering
If there is one mistake I make most often in the garden, it's watering too much.
Chamomile likes moist soil while it's becoming established, but it doesn't want to sit in constantly wet conditions. Overwatered plants may become floppy, weak, or develop fungal issues.
A good rule of thumb is to check the soil before watering. If the top inch still feels moist, wait another day and check again.
Most plants are much more forgiving of being slightly dry than being constantly wet.
Poor Flower Production
Sometimes chamomile produces lots of greenery but very few flowers.
When this happens, the most common causes are too much fertilizer, too much shade, or simply not enough time.
Young plants often need a little patience before they really begin flowering heavily. It's easy to assume something is wrong when the plant is actually just taking its time getting established.
Crowded Plants
Because the seeds are so tiny, overcrowding is one of the most common issues you'll run into.
Everything looks fine when the seedlings first emerge. A few weeks later you've got a dense clump of plants competing for sunlight, airflow, water, and nutrients.
Thinning seedlings early feels wasteful, but it almost always results in healthier plants later on.
Self-Seeding
Depending on your perspective, this is either a feature or a problem.
German chamomile loves to reseed itself. If you allow flowers to mature and produce seed, there's a good chance you'll find volunteer seedlings popping up the following year.
Personally, I don't mind this. Free plants are generally welcome in my garden.
If you'd rather keep things under control, simply remove spent flowers before they have a chance to set seed.
Harvesting Chamomile
The first time I harvested chamomile, I was nervous about picking too many flowers. After spending months growing the plant, removing the blooms felt a little backwards.
Fortunately, chamomile doesn't seem to mind.
In fact, regular harvesting often encourages the plant to produce even more flowers.
The best time to harvest is in the morning after the dew has dried but before the heat of the day arrives. Look for flowers that are fully open with healthy white petals surrounding the yellow center.
To harvest, simply pinch or snip off the flower heads while leaving the stems and foliage behind. The plant will continue producing new blooms throughout the season.
I generally harvest only a portion of the flowers at any one time. This gives me a steady supply for drying while still leaving plenty of blooms for pollinators and future harvests.
Once flowering really gets going, you'll probably find yourself checking the plants every few days for more flowers to collect.
Drying and Storing Chamomile
Growing chamomile is only half the process. At some point you'll have to decide what to do with all those flowers.
My original plan was simple: grow enough chamomile to make tea throughout the winter. Then I discovered that a healthy chamomile plant can produce a surprising number of flowers. Suddenly I was looking for ways to preserve them all.
Fortunately, chamomile is one of the easier herbs to dry.
After harvesting, spread the flower heads in a single layer on a drying screen, basket, tray, or rack. Place them somewhere warm with good airflow and keep them out of direct sunlight. Direct sun can fade the flowers and reduce some of the aroma that makes chamomile so pleasant.
Depending on humidity levels, the flowers usually take anywhere from a few days to a couple of weeks to fully dry. Here in Virginia, where humidity likes to make life interesting, it often takes a little longer than the drying times you'll see listed online.
You'll know the flowers are dry when the petals feel papery and the yellow centers are completely dry. If there's any moisture left, let them continue drying before storing them.
Once dry, store the flowers in an airtight container away from heat, moisture, and sunlight. Mason jars work well, and they're what I typically use for storing dried herbs.
Properly dried and stored chamomile will generally maintain good quality for about a year, which conveniently gets you to the next growing season.
Traditional Uses of Chamomile
Most people know chamomile as a tea herb, and that's certainly how I was introduced to it.
There's something comforting about a warm cup of chamomile tea in the evening, especially after a long day. The flavor is mild, slightly floral, and often described as having apple-like notes. Even people who don't normally enjoy herbal teas tend to find chamomile approachable.
But tea is only one way chamomile has traditionally been used.
The flowers are often included in bath blends, infused oils, facial steams, soaps, salves, lotions, and other herbal preparations. If you've ever looked through a book on herbalism, chances are you've seen chamomile show up repeatedly.
Part of the reason for that popularity is that chamomile is incredibly versatile. One harvest can provide enough flowers for tea, bath blends, homemade gifts, and a variety of herbal projects.
It's also one of the herbs that many people start with when building a home apothecary because it's easy to grow and easy to use.
If you're interested in the phytotherapy side of chamomile, including the compounds responsible for its aroma and traditional uses, I'll cover that in a separate article. Otherwise, this growing guide would quickly turn into a small book.
What Makes Chamomile Smell Like Chamomile?
One of the things I find fascinating about herbs is that every scent comes from actual compounds produced by the plant.
Chamomile's characteristic aroma comes from a collection of volatile oils and other naturally occurring constituents that the plant produces throughout its life cycle.
These compounds are responsible for the scent released when you brush against the flowers, crush a flower head between your fingers, or brew a cup of tea.
The deeper science behind those compounds, what they are, and why the plant produces them deserves its own discussion, so I've created a dedicated Chamomile Profile article that explores the chemistry, phytotherapy, and traditional herbal uses in much greater detail.
For now, just know that the pleasant aroma you're smelling isn't accidental. It's part of what makes chamomile one of the most recognizable herbs in the garden.
Ways to Use Chamomile
After you've grown, harvested, and dried your chamomile, the fun part begins.
The most obvious use is tea, but chamomile can do a lot more than that.
Some of the ways I plan to use my harvest include:
Homemade infused oils
Salves and balms
Facial steams
Herbal sachets
Dried flower blends
Gifts for friends and family
One of the reasons I wanted to grow my own chamomile in the first place was knowing exactly where it came from. There's something satisfying about making a cup of tea from flowers that were growing in your garden a few months earlier.
It feels a little different than grabbing a box off a grocery store shelf.
Continue Exploring Chamomile
If you'd like to learn more about chamomile, you might also enjoy:
These articles take a deeper look at the growing, harvesting, chemistry, and practical uses of one of my favorite garden herbs.
Browse all chamomile articles →
Final Thoughts
If you're new to herb gardening, chamomile is one of the plants I'd recommend starting with.
The seeds are inexpensive, the plants grow quickly, pollinators love the flowers, and within a few months you'll likely be harvesting blossoms for tea and other projects. It doesn't require specialized equipment, perfect soil, or years of gardening experience. Most of the time it just wants some sunlight, occasional water, and for you to stop fussing over it.
That's probably one of the biggest lessons chamomile has taught me so far.
A lot of gardening success doesn't come from doing more. It comes from paying attention, learning from mistakes, and letting plants do what they've evolved to do.
I've certainly made my share of mistakes with chamomile. I've overwatered it, crowded too many seedlings into small pots, and raised my grow lights too high. The plants survived most of those mistakes anyway.
That's one of the reasons I keep recommending chamomile to beginner gardeners. It's forgiving. It gives you room to learn. And before long, you'll have flowers blooming in the garden and enough dried chamomile to remind you of summer long after the growing season ends.
And if you're anything like me, you'll probably end up planting more of it next year than you originally planned.